Friday, May 05, 2017

Spring Sunglasses refashion - fix & restyle

What happens when your favourite pair of sunglasses, ends up with a broken arm?

You should know better and use a sunglasses case before throwing them into that huge bag, full of "necessary" stuff you carry around all day long! Ehm..too late!
Well get over it and lets fix this!


• Clean the surfaces. Use a drop of superglue and attach the two pieces together.
• Hold them firmly attached for a minute or two, until the glue dries.
• Pick some embroidery thread (or any other type of thread) in colors of your liking.
• Use a tiny dot of superglue to keep the thread edge in place and start to wrap around the arm. Continue wrapping in different colors, as you would do in a friendship blacelet.
• Avoid overlaping the thread while wrapping for a smooth and bump free result. Secure thread ends with glue.
• Well done!!! Enjoy your new pair of old sunglasses!!!!


Saturday, January 16, 2016

FREE Printable Calendar 2016 | 12 Crafty Coloring Pages

Happy new year everyone!
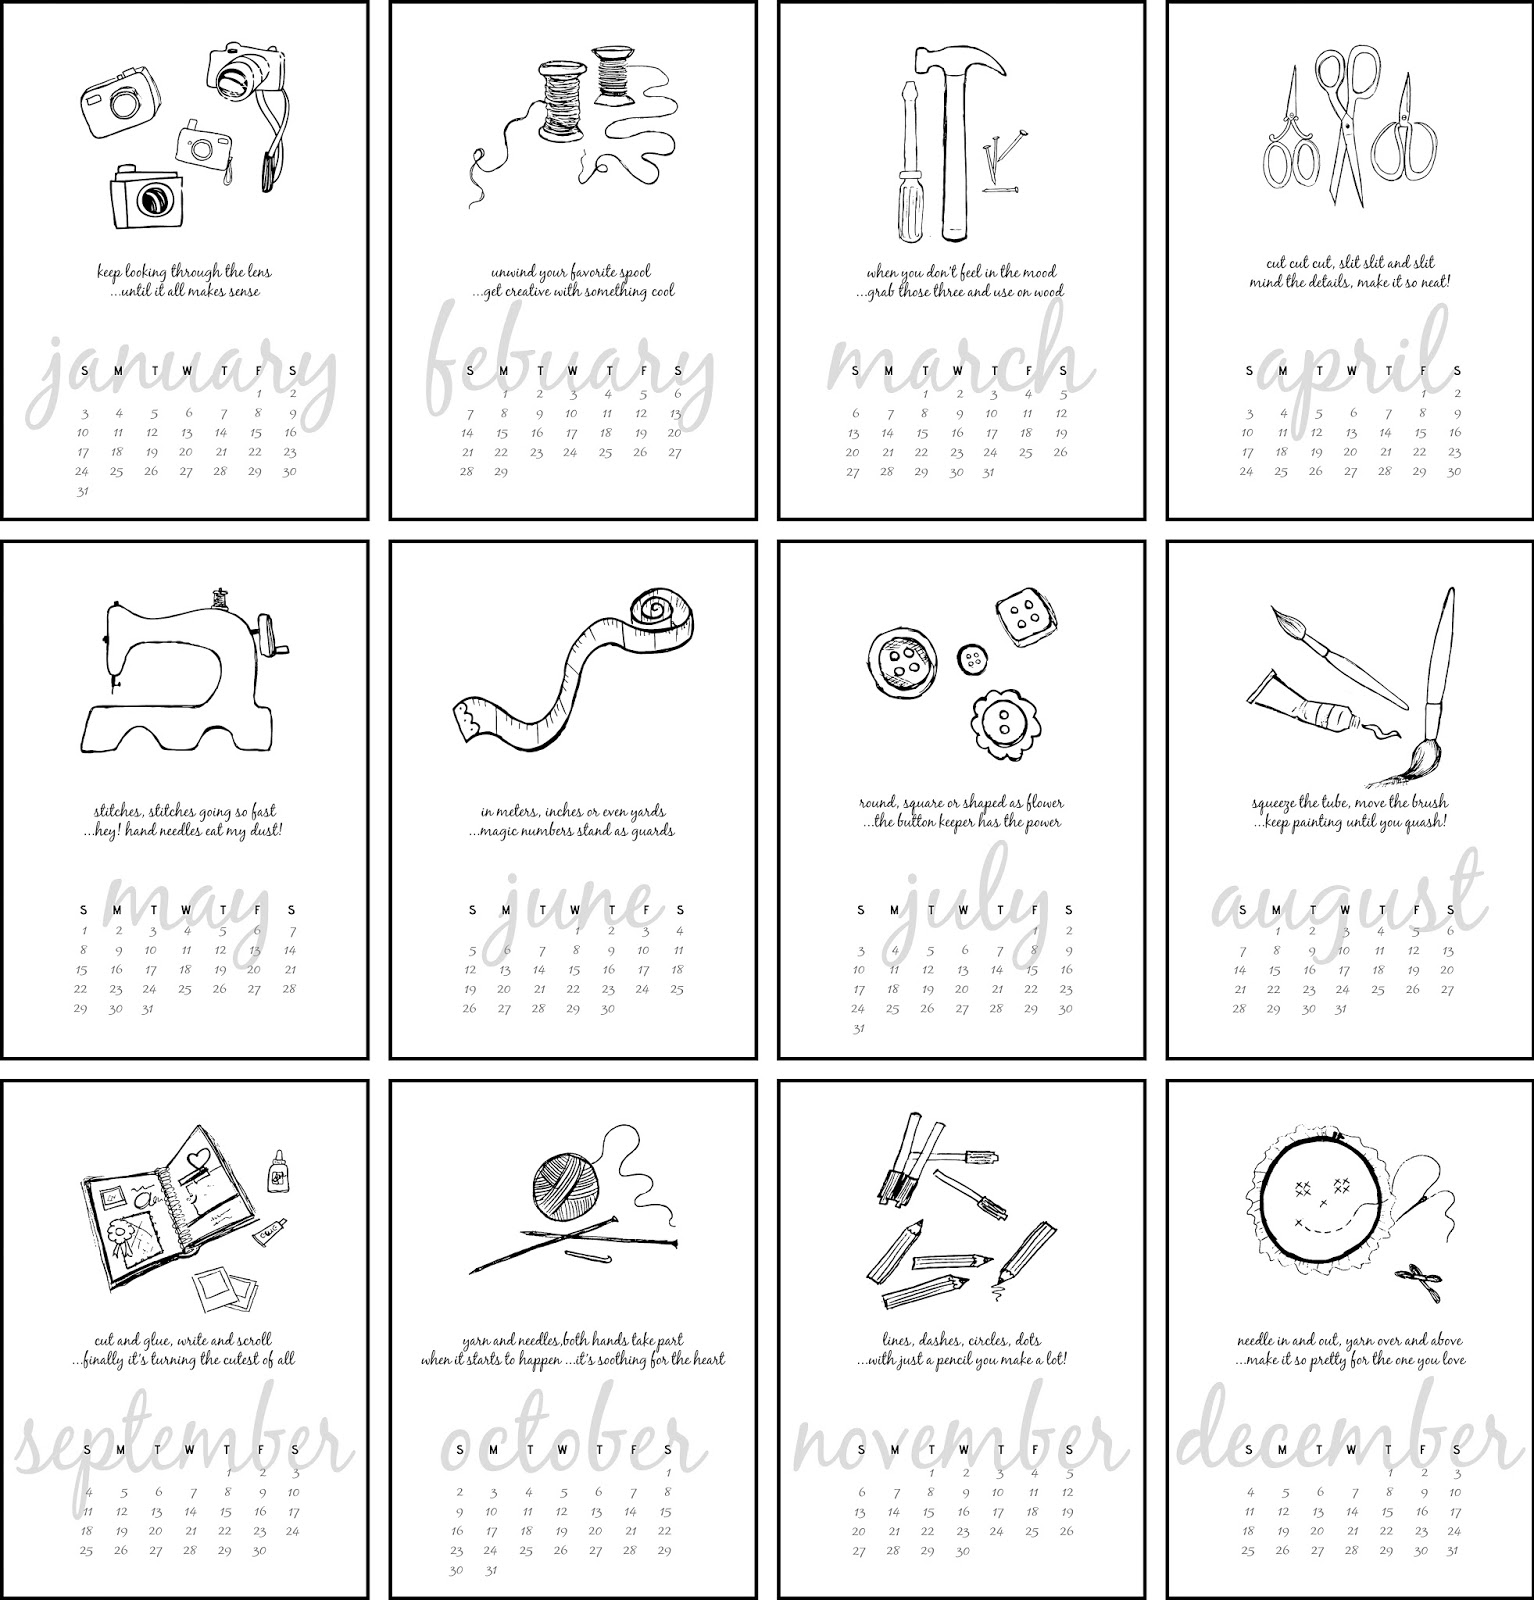
I thought it would be fun to make a calendar with a crafty theme, for the new year. I started doodling on a sketch pad and here's what came out!

I'm very happy to share it with you!
You can download 12 different pages (one for each month) + 1 calendar cover in two sizes.
Choose the size you like, download from the links at the end of this post and print it yourself. 
I've attached two diferent sizes: 
• A4 - 21 x 29,7cm - to be printed full page
• A5 - 14,85 x 21cm - each file includes 2 -A5 pages to print in a full A4 (and avoid paper waste)

*The ideal paper weight is at least 160gsm

You can display it in black & white or color it yourself!
Twelve craft themed coloring pages for a relaxed evening by the fireplace.


 Display it on a stand or attach a board clip and hang it on the wall.


Click the link of the preffered size and then click on the download arrow on the top center of the page to start downloading the files.


 I hope you have fun coloring it and find a lovely spot to style it in your craft room!

Where would you place it??? I'ld love to know If you like it and see what you have done with it! Please share your impressions and photo links in the comment section below! :-)

FREE Printable Calendar 2016 | 12 Crafty Coloring Pages
make animated gifs like this at MakeaGif

Thursday, November 05, 2015

Inspiration...and some paintbrush cleaning tips


After a long and joyful game with aclylic paints, I ended up with a finished project, a big mess, a few orange and blue {permanent} stains on my shirt, rainbow hands and a lot of dirty brushes!

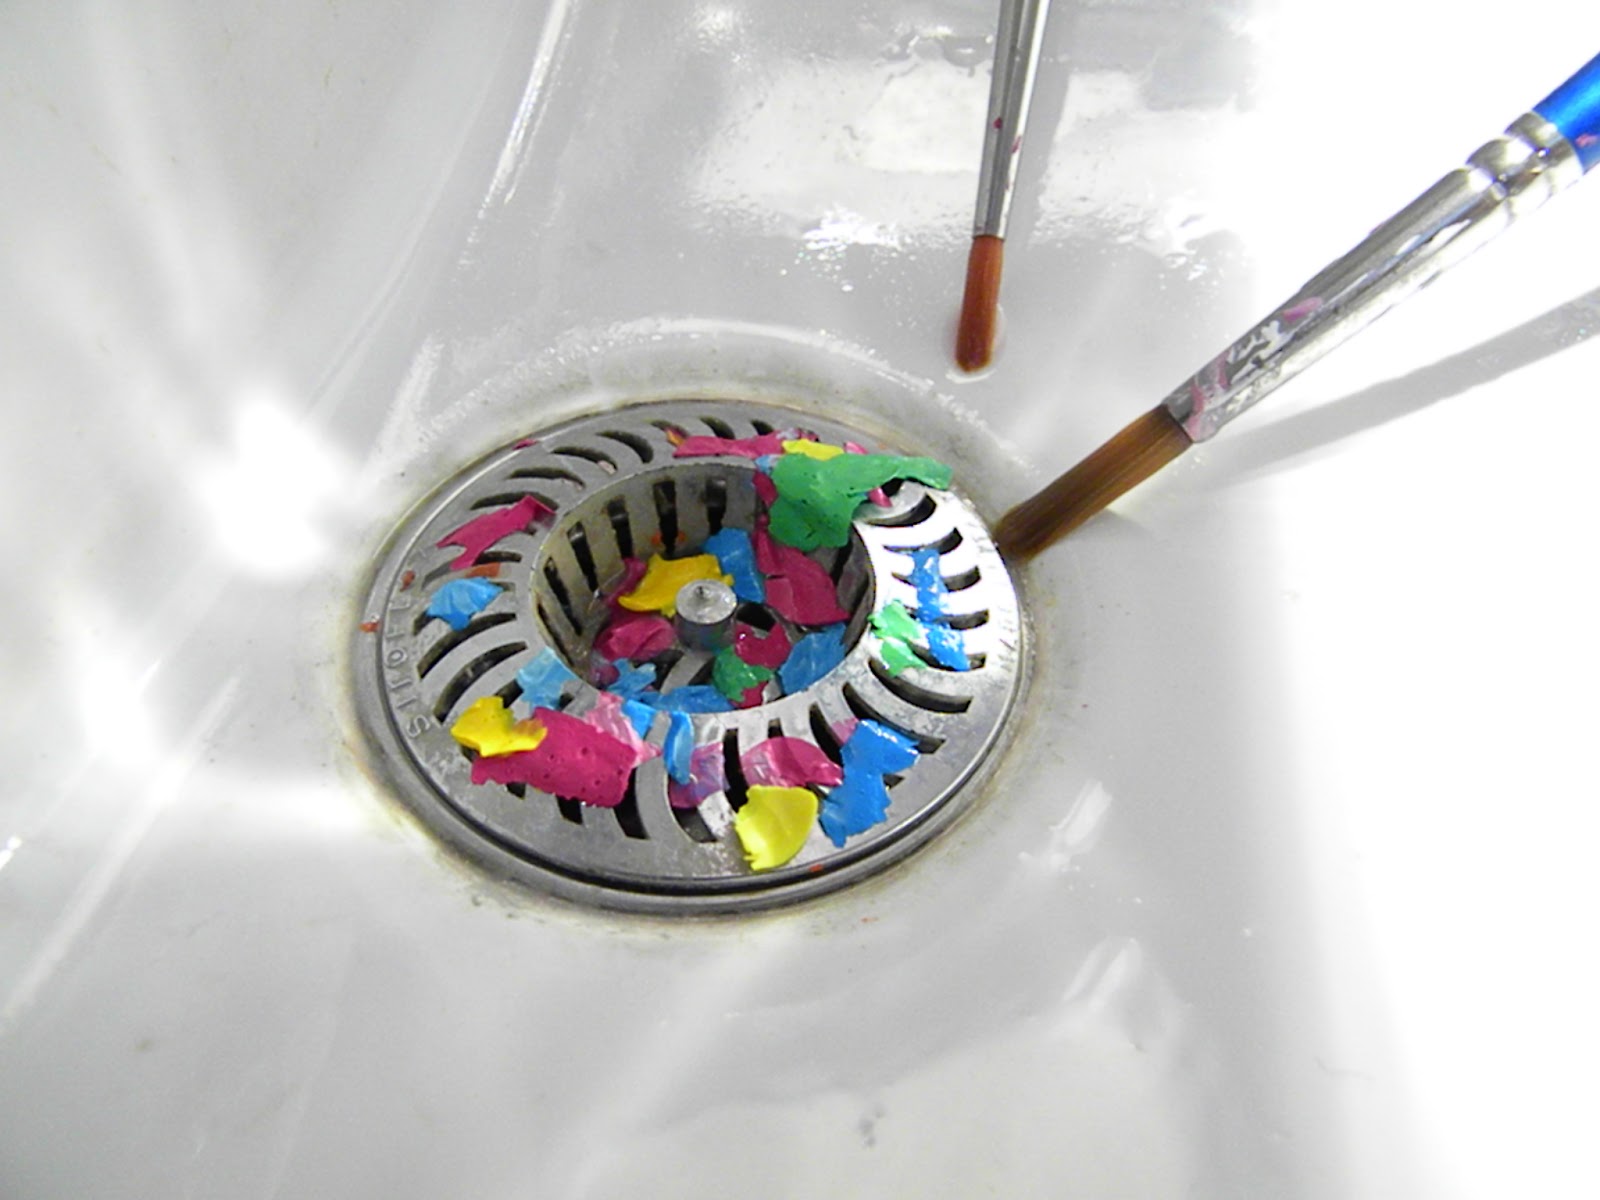
I always start cleaning my painting tools with the palette, as the remains of paint dry fast and sometimes they need to soak before washing. A little bit of warm water, a slight rub on the dry paint...and there it was! The color peels were so beautifully arranged in my sink, that I run to grab my camera!  I thought it was pretty inspiring and I had to share. :-)


Next person in cleaning queue is The Jar. Throw away the dirty water and wash it thoroughly. You can also clean the colors with dish soap on a sponge and make it as good as new. Well...I'm not that kind of person...the one pictured bellow is my favourite jar in the whole world. We've been painting together for about five years and I love every single dash of color on it!


Then the paintbrushes. You can just rinse them with water and let them dry. My way though, includes a bar of soap. If you are using water based colors, rinse away all the paint until the water comes clean and then rub your brush on a bar of soap. I'm using traditional olive oil soap because I think it keeps the hair more soft and flexible. You can also use liquid hand soap or really any kind of soap. Most of the times you will see that there was more paint hidden in there and the foam helped it come out. Massage it for a sec with your fingers and then rinse the foam. Dry it with a towel (your moves should follow the hair direction) until all the water traped in there is absorbed. ALWAYS keep in upright position with the wooden stick downwards and hair facing up (make sure that there's no more water close to the metalic parts that holds the hair, to avoid rust). Another way is to lay them flat or place them on a special brush stand that keeps the brush upright and hovering. 


If you are using oil paints, clean the brush with white spirit or thinner first and then use the same procedure. You might need to soap it more than once to clean all the oil.
This way you can clean every kind of paint brush or roller, even the ones used to paint the house.


Do you get easily inspired from everyday things as I am? I would love to know! Please share in the comments below.
What was the last crazy thing that gave you a flash of inspiration?

Saturday, October 31, 2015

Extraordinaries: Paper Wonders VOL. I

Hi everyone!
I've been wanting to make a tribute to paper art for a long time...There are so many fantastic artists and so many different techniques for making masterpieces using this paltry material. I have so many favourites that they can't fit in one post.

Today I'm introducing you Jennifer Collier. An AMAZING paper artist, who has taken paper sculpture to another level! I'm so in love with her sewing machines!!!


 “Giving new life to things that would otherwise go unloved or thrown away,” is central to her practice.


Books, maps, envelopes, wallpaper or scrap, the paper is transformed into textural forms. Like cloth it is stitched to construct two or three dimensional objects, decorative and functional: lampshades, cameras, tools and furniture. The origin of the paper often provides a starting point for the artwork: the narrative of the books and papers suggesting idea and form.


The most impressive thing I find about her work, is the detail which makes them look so real and they give you the impression that each piece has it's own personality!


To learn more about her work visit her site @ http://www.jennifercollier.co.uk/


What's the last thing you made from upcycled paper? Would you like to see tutorials about paper crafts on this blog? Please let me know in the comments below!

Monday, June 02, 2014

FabulousCatPapers Giveaway WINNER!!!


On the last post we met Chara from FabulousCatPapers shop. She offered my readers an amazing handmade and hand embroidered A5 notebook! The giveaway has ended and we have a WINNER!!!!!
Drumroll please!!!!!


...ta da! 
and the winner is:
☺ Darlene R. - entry number #406 ☺

Congratulations!!!
Thank you all for participating!!!

***NOTICE: the winner was automatically chosen between 586 entries by random.org 

Thursday, May 08, 2014

People Creating Magic: FabulousCatPapers + giveaway!!!

This girl makes japanese notebooks. This girl embroiders. You will be thrilled to see what amazing things she creates combining these two. She conveys creatures and objects  from the 3d world on 2dimensional  paper surfaces. The form is scattered and recombined dot by dot on a new level. The thread turns to paint and the needle turns to brush. Notebooks or pieces of art?

Everyone, meet Chara from Greece. The wizard of "FabulousCatPapers".


------------------------------------------------------------------------------------------------------
  People Creating Magic, the game of fives
 • Fabulous Cat Papers •
------------------------------------------------------------------------------------------------------


 ------------------------------------------------------------------------------------------------------

▲ TELL US ABOUT YOUR MAGIC

1.  Who are you and what kind of magic do you make?
I'm Chara and at this time of my life, I make Japanese notebooks, lately embroidered. I love paper embroidery, and I like the unusual.


2.
Where does your inspiration come from?
Everywhere! Japan of course that I admire in many ways, but also from nature, sciences, anatomy, arts, other people's interests and so many more.
It's kind of an infinite list, I think almost everything is interesting in some way.

3.   What are your favorite materials and tools?
All kinds of papers, threads, needles and my little awl!

4.   What did you want to be, when you were a child?
Many things… astronaut, teacher, dancer, singer, scavenger (!)

5.  What was the first thing you ever made?
Not really sure, since the most vivid memories of mine are of times I actually destroyed things so as to understand how they were made of.
So, I have to say, smashing a watch with a hammer at the age of 5.
I have smashed many things, and continue to do so,  before actually creating.


▲ LET'S PLAY "CHINESE PORTRAIT"

1. What would you be, if you were a color? 
Charcoal I think…

2. What would you be, if you were a sound? 
Atonal music.

3. What would you be, if you were an animal? 
A cat of course…

4. What would you be, if you were an object? 
A road

5. Who would you be, if you weren’t yourself? 
One of my beloved friends I hope!


▲ PLEASE SHARE WITH US:

1.  A moment of the creating process:
The anxiety to see the final product after the work is complete, to never really know from the beginning if it will be be beautiful…


2. One word that defines you as an artist:
Persistence.


3.  One word that defines you as a person:
Absolute?


4.  Something you love and something you hate:
Friend I adore, circumstances I hate.

But this is a big chapter…. 


5.  Five facts people do not know about you:
I am an open (note)book, no secrets here.   ;-)


▲WHERE CAN WE FIND YOU:
 

Etsy: www.fabulouscatpapers.etsy.com
Facebook: https://www.facebook.com/pages/Fabulous-Cat-Papers/330562830328702
Pinterest: http://www.pinterest.com/fabcatpapers/
Dawanda: http://en.dawanda.com/shop/FabulousCatPapers


__________________________________________________________________________________

✿ G I V E A W A Y ✿ 
___________________________________________________________________________________


Chara is giving my blog readers the chance to win this AMAZING handmade A5 notebook, pictured above!
TO ENTER: leave a comment to this post saying which one is your favorite item from FabulousCatPapers shop.
 
Then use the rafflecopter app below to validate your entry and push the +1arrow on the right side of every option to read what you have to do for extra entries and more chances to win!!! 
This is an international giveaway.

The giveaway will be on until May 31st 12:00am.
The winner will be announced on June 1st!

  a Rafflecopter giveaway

GOOD LUCK everyone!!!!  

Wednesday, April 16, 2014

3 Amazing Easter Crafts to Try!


Easter is not only about fresh flower arrangements and dyed eggs. Creativity shows the way on holiday crafts too. I needed to make something really colorful, impressive and very original, but not move too far from tradition. Here's what I've made this year. You can follow my tutorials and make these mind-blowing crafts for this Easter.


◄ Decorate Easter Eggs with Embroidery Stitches


I love embroidering on unconventional materials! I admit it was a bit tricky, since eggshells are very fragile... but the result is rewarding!

 Follow the step-by-step tutorial and make your own gorgeous embroidered eggs!

◄ Needle-Felt the Cutest Easter Bunny


Wool is such an amazing material! It can take so many forms and uses. Just use the right technique according to what you are making and the possibilities are endless. This tutorial is an introduction to needle-felting and it shows you  how to make a little creature with just a handfull of roving and a felting needle!

Following this detailed step-by-step guide will help you understand how needle felting works but it will also show you how to make this cute grumpy face!
HOW TO MAKE A CUTE NEEDLE_FELTED BUNNY FOR EASTER

◄ Make Gorgeous EggShell Mosaic Eggs


Mosaic tiles from eggshells? Yes, sure! Take advantage of the shells fragility and create amazing pieces of art on about any stable surface. In this case I've used this technique to decorate colorful and ombre Easter eggs.

Check the step-by-step photo guide on how to make a mosaic eggs, using the shells themselves!
HOW TO MAKE MOSAIC SHELL EASTER EGGS


 *** don't forget to check my last year's "Pysanky"tutorial. It shows the easiest way to make eggs with the waxing technique, by using household items.
PYSANKY EASTER EGGS, PAINT IN WAX


Happy Easter Holidays!! :-)

Saturday, March 22, 2014

DiY: Make an Embroidered Canvas Wall Hanging

I have a huge crush on embroidery lately! Well Ι'm not a really conventional type...so i was thinking about embroidering on something further than fabric? or maybe an object? I decided to start the safe way, with something very close to fabric: painting canvas.


You will need:

◄ Canvases in two sizes
◄ Embroidery floss
◄ Needle
◄ Coloring Pencils
◄ Branch
◄ Beads
◄ Drill (optional)
 ____________________________________________________________

Draw your design on the canvas. Use the right colored pencil according to the matching thread of each line.


Thread your needle and start stitching on the lines. Change thread color when necessary.


Use the appropriate kind of stitch depending on your design.


Finish all the little canvases. 


Create a more detailed embroidery design on the large canvases.


When you have finished all the canvases, play around with the possitioning to decide the arrangement. For example, i made two bicycles which will be on the bottom of the arrangement. The cloud and butterfly will be hanged above the bikes and the flowers next to the bicycles on the "supposed" land line. You can hang each on a different string or combine some on the same one, but in differend heights.


 Use a very small drill to make holes n the canvas. Push the string through the holes.


Pull a bead through the end of the string. Make a big knot at the very end. This will hold the string in place.


Choose a lovely long branch and hang your artwork according to the desired arrangement.


..and you are done! We've just brought spring inside while creting a lovely wall decoration!


Two days ago, we celebrated the 1st Day of Spring! I've  filled the vases with wild flowers and made a Spring embroidery canvas wall hanging. Do you have any craft ideas on how to bring spring colors in the house? Share in the comments bellow!
Pin It button on image hover